How To Guide #2: Set up a simple "studio" in your own home or when you're on the go!
In this article I will discuss how to quickly and cheaply set up a lightbox for taking studio quality images.
This guide is most relevant for Estate Auctions, since individual items or small lots of items will be for sale. But, there's no reason not to highlight a few items in your Estate Sales using these techniques as well. This technique requires more time, even though it is relatively easy, but it pays off because it makes yoru items look special, and thats how you sell them.
Bookmark this page and come back to it later if you need a reminder on how to set everything up.
Why you need to do this!
Yes you're busy, yes taking photos can be tedious, which is exactly why you want to maximize your efforts. What makes a picture beautiful is more than just the subject of your photo, it's really the light that is beautiful. People like beautiful pictures, they respond to them, and that is good for you. When people share stuff on social media they internally validate what they're sharing, what that means is that if the image doesn't meet certain standards, they won't share it, they want to attract more followers through what they share and sharing badly lit pictures is not how they attract more followers! You have to help others help you, make your images beautiful and human nature will take care of the rest.
Step 1 Acquire the basics to make your portable/home "studio".
You can buy the supplies for this at a Michaels or even many grocery stores. Any place that sells foam core art boards will do the trick. When you're looking for it in a grocery store it's usually on the school supplies aisle.
Here is what you need for your "studio" aka a lightbox:
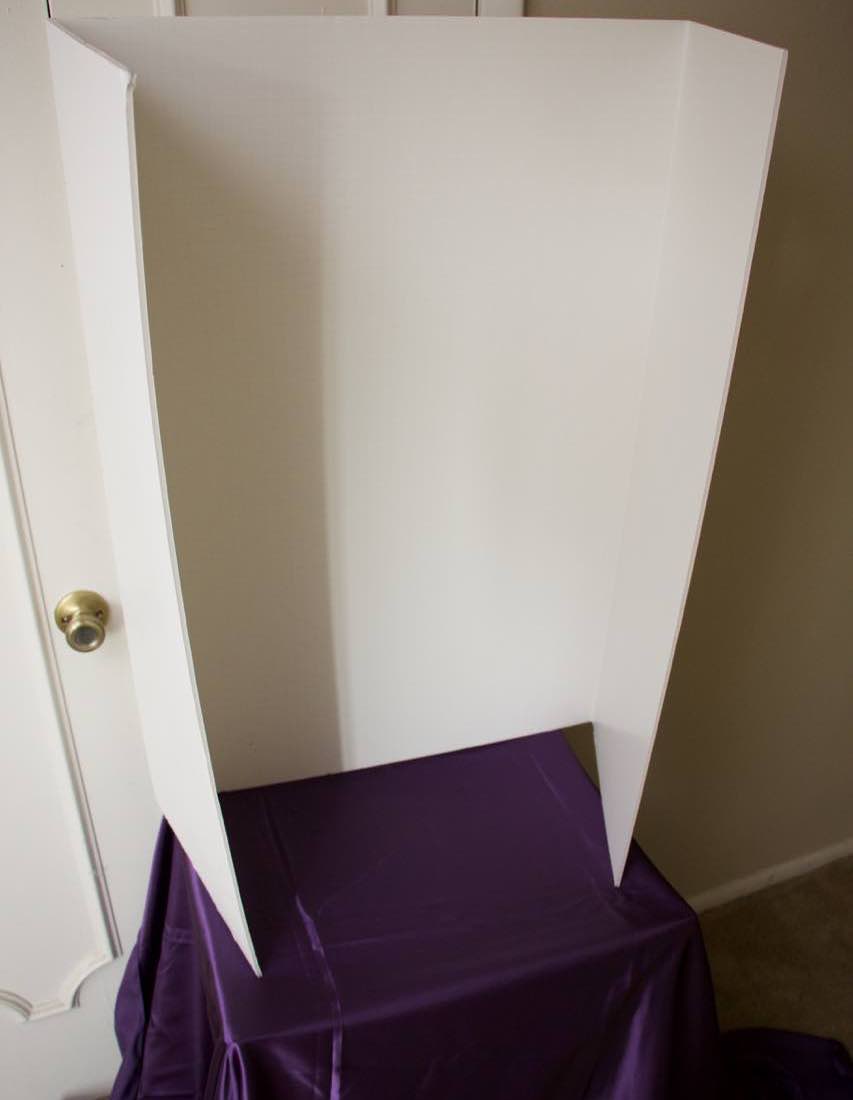
3 large pieces of white foam core art board. You need 3 pieces of foam core to form the bottom and top of your mini studio.
1 tri-fold white foam core art board. If you can't find a tri-fold foam core, then buying 3 more pieces of regular foam core and joining them at the edges with duct tape will also work. It's just easier if you get it pre-made.
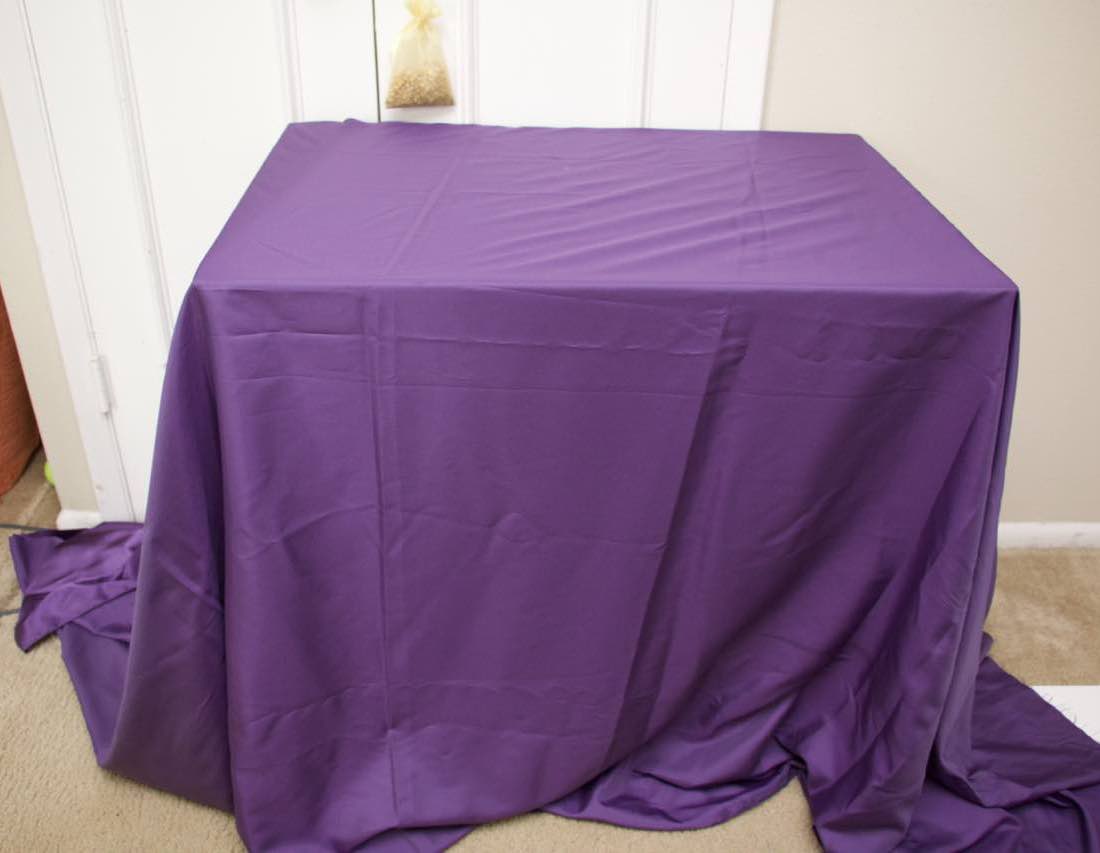
A sheet or cloth in your choice of color and texture. Pick out a cloth or sheet of whatever color you think will best offset the items you will be photographing. It's usually best to choose a lighter or single color cloth for this purpose.
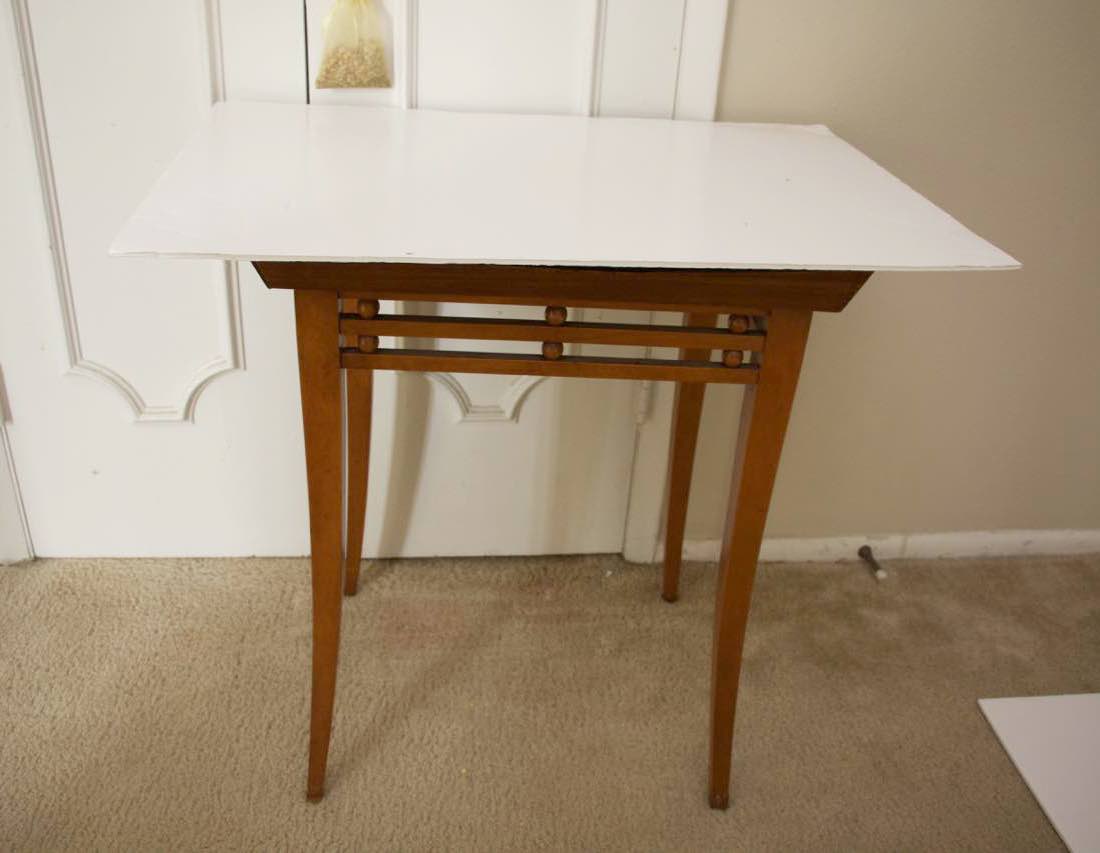
A table top or raised area to place your studio upon. Something stable that is the size of a breakfast table will work perfectly.
Everything from guide #1. If you haven't read the first guide yet, check it out by clicking here. You will need the items from there if you want to make this guide worth your effort.
Once you have your foam core and sheet, it takes 5 minutes or less to set up the "studio" remember, this isn't a permanent structure, it's something your put up and take down just when you need it. What you're making is called a lightbox, and it is just what it sounds like, its a box like structure that is open on one side and is meant to reflect light. The goal is to shoot the flash into the lightbox and it will illuminate the item from all sides, rendering a studio quality effect. You can tweak this as well by using a black piece of foam core on one side to give the lighting a different feel on that side.
Steps to build the studio.
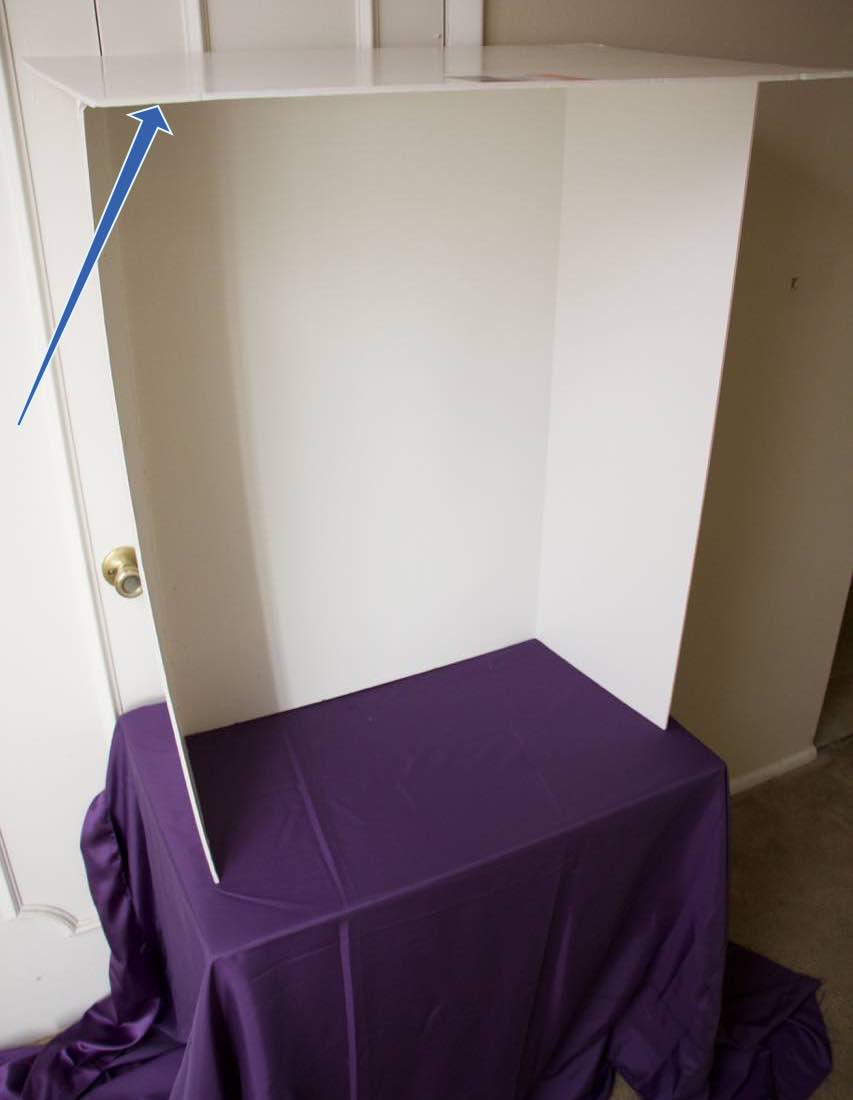
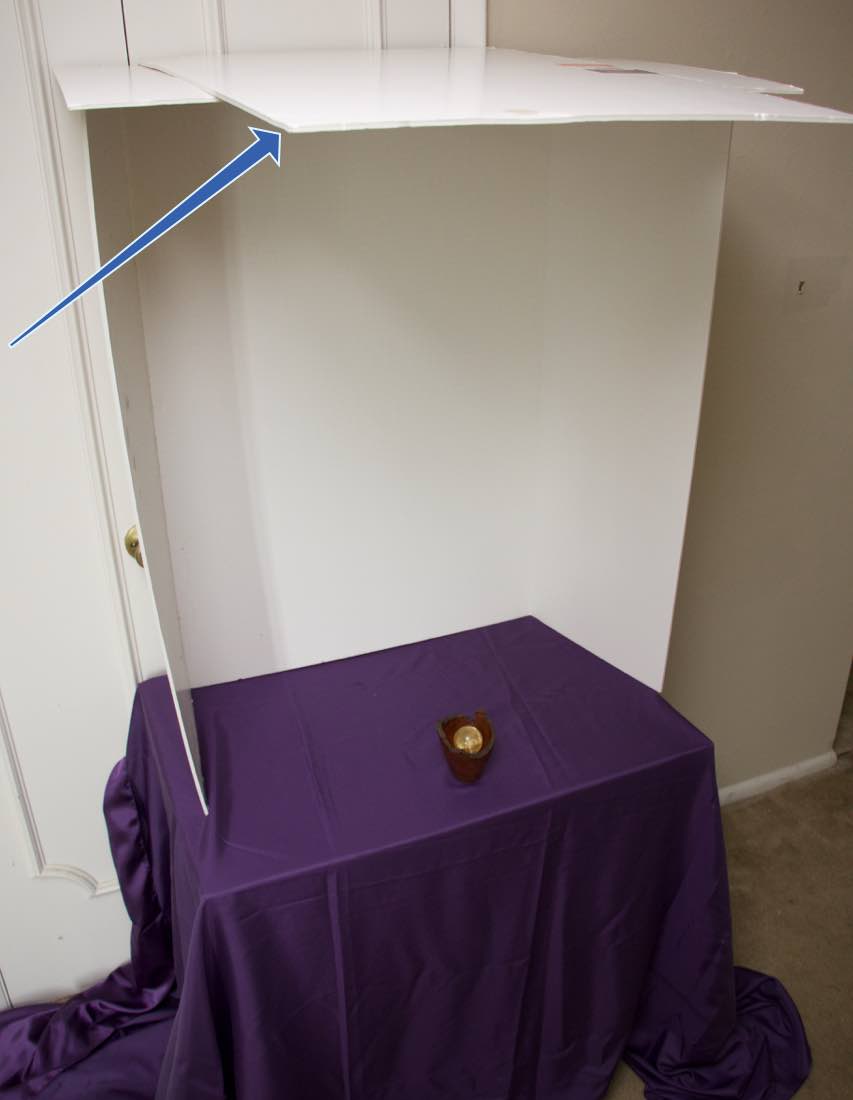
NOTE: Don't stack things on top of your lightbox to try and hold it together using dead weight, use pieces of tape and/or more pieces of foam core to get a more solid structure.
When you're all done taking your photos just fold everything up and put it in the back of the car! I like using foam core because it's easy to replace, and it's easy to construct different sized light boxes, or to just stand up a piece of it just off camera to reflect some light onto your subject.
Examples using the lightbox:
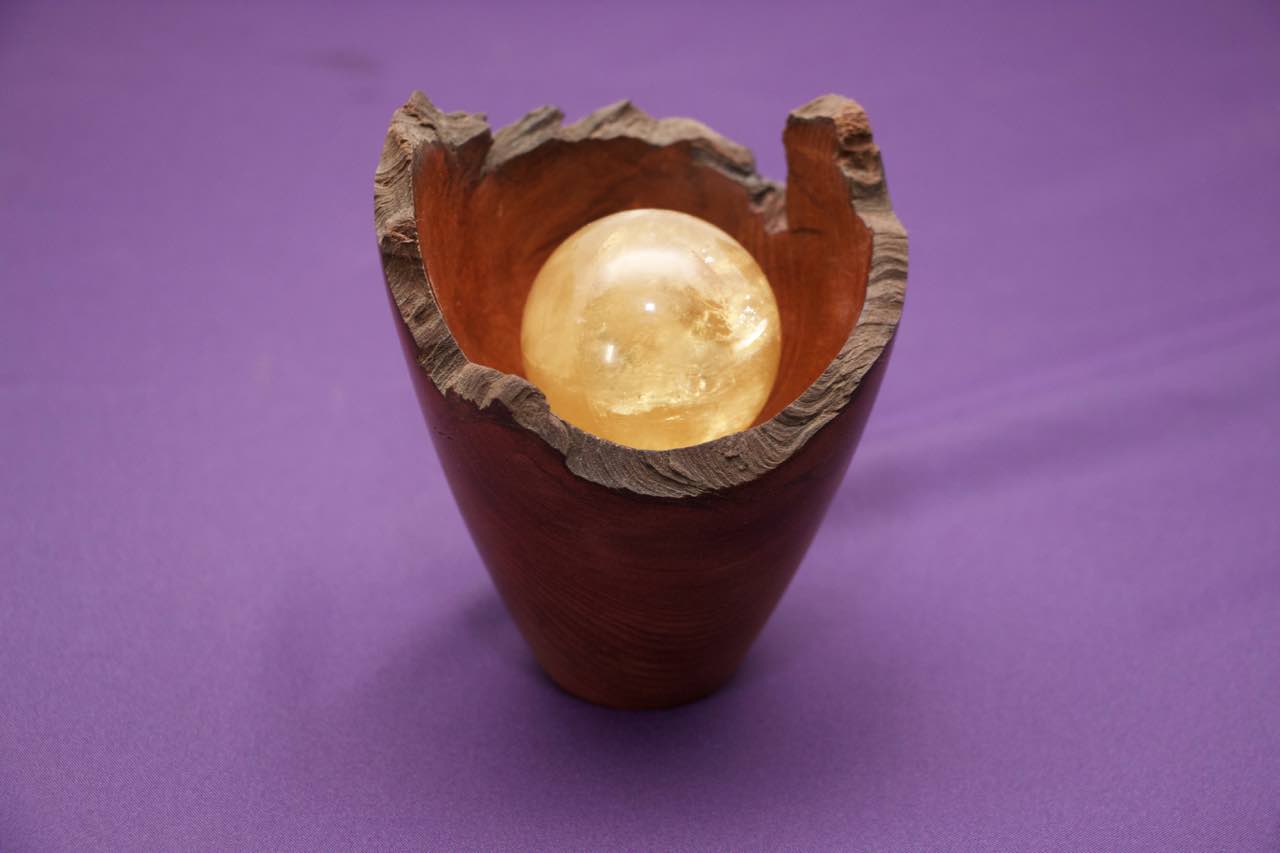
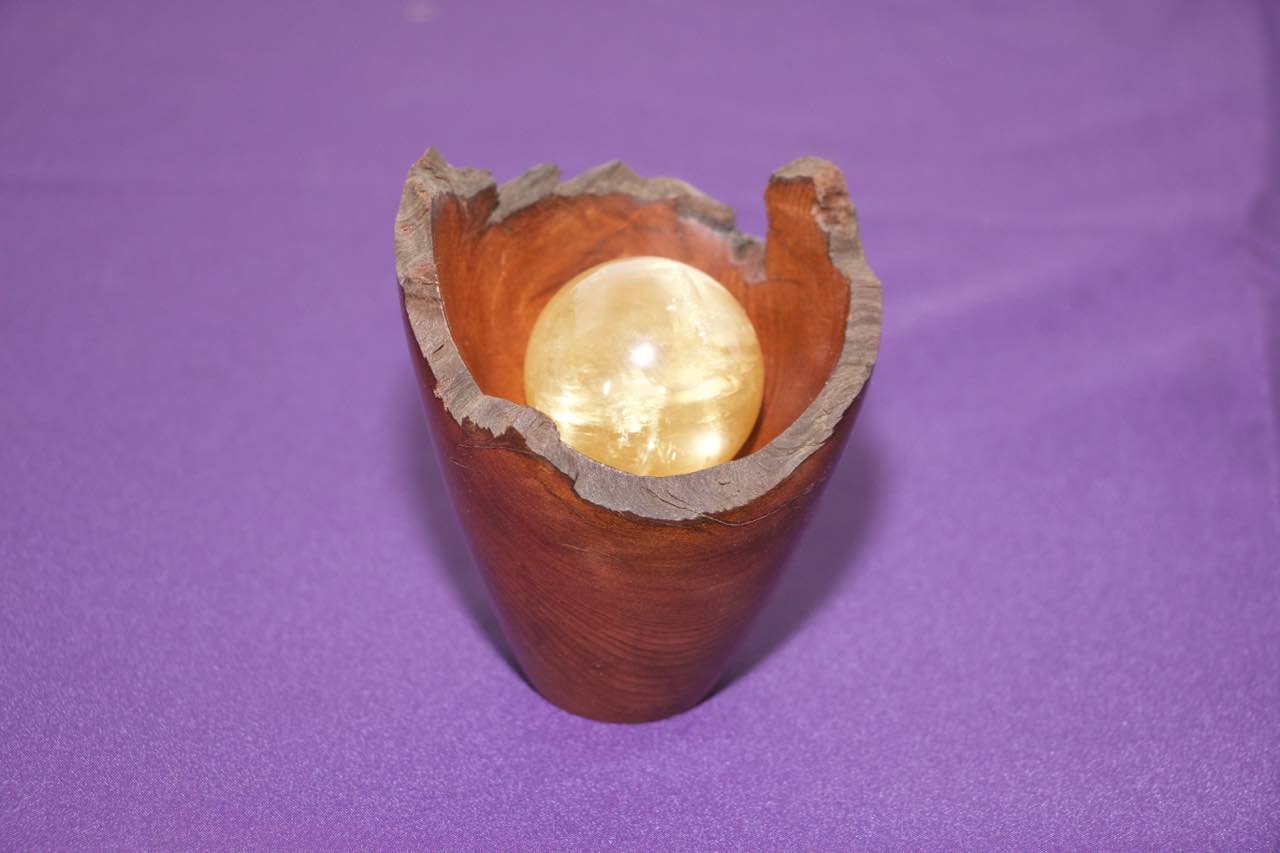
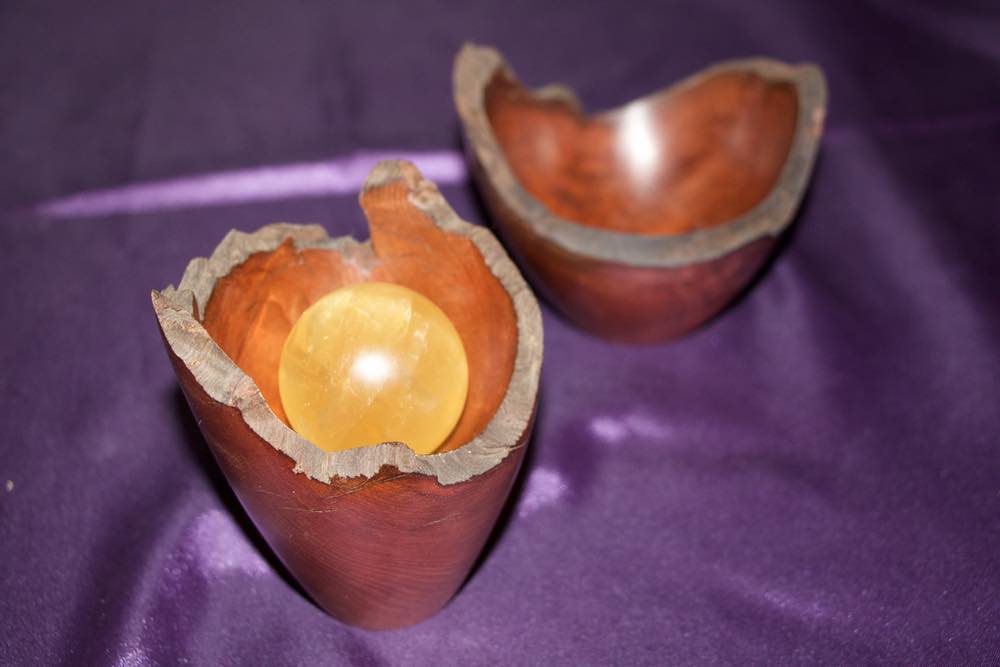
Clearly the bounce flash in the lightbox is the best way to photograph individual items. You might be wondering why a built in flash is even included with a camera if it is so bad, the truth is, it's usually not included with DSLR's targeted at professionals. Basically the built-in flash on your camera is terrible and just makes pictures look worse. As you can see it's not difficult or expensive to get top quality results with a good flash and some imagination.
If you get the best quality images from your efforts, taking photos will seem like less of a chore and more of an exciting part of the whole listing process!